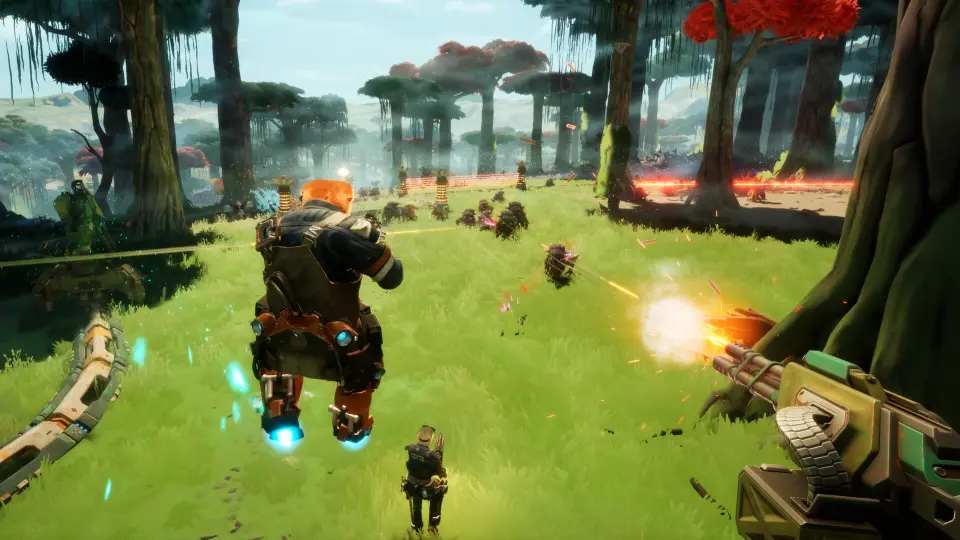
How the turret tree works
Open the Research Lab on your ship and pick the Turrets tab. Everything starts from the Base Turret, then splits into three branches. A turret you unlock here becomes available as a Build Kit on expeditions, and you place it on a pipeline node near the Collector.
| Branch | Turrets | Material | Plays like |
|---|---|---|---|
| — | Base Turret | — | Free autocannon. Modest damage, questionable accuracy. The foundation for all turret upgrades |
| Gunner | Gunner, Minigun, Longbore, Scatter | Titanium | Ballistic. Reliable damage at short and long range |
| Rocket | Rocket, Cluster, Mortar | Rocket-branch material ⚠️ (icon not readable on stream) | Explosive crowd control |
| Laser | Laser, Arclight, Lancer | Electrium | Energy beams. No splash, high single-target damage |
Octopus Panic’s launch notes count 22 turrets and deployable systems. The 11 turrets above are the ones we’ve seen in the Research Lab. The rest are deployables (radar, generators and the like) and turrets that weren’t on screen yet, such as the MLRS players mention.
Every turret
The descriptions are our summary of the in-game text, checked on November 4.
| Turret | Branch | What it does | Good against |
|---|---|---|---|
| Base Turret | — | Basic autocannon, the start of the tree | Early waves only |
| Gunner Turret | Gunner | Machine gun with sustained ballistic fire. Reliable, durable, built to hold the line | Your main defensive line |
| Minigun Turret | Gunner | Spins up to deliver a relentless stream of ballistic fire downrange | Sustained swarm damage |
| Longbore Turret | Gunner | Long-range precision turret. High-caliber, armor-piercing rounds. Slow, but brutally effective | Armored enemies, elites |
| Scatter Turret | Gunner | Close-range shotgun turret. Devastating bursts, weaker at distance | Chokepoints next to the base |
| Rocket Turret | Rocket | Slow, high-yield explosives for crowd control | Groups |
| Cluster Turret | Rocket | Rapid-fire rocket turret that saturates crowded zones with arcing mini-rocket volleys | Big swarms |
| Mortar Turret | Rocket | Long-range artillery. High-arc explosive shells, powerful against distant groups, imprecise | Enemies before they reach the base |
| Laser Turret | Laser | Continuous beam. No splash, no spread, sustained burn | Single tough targets |
| Arclight Turret | Laser | Locks on with sustained electricity; damage rises the longer contact holds | Bosses and tanky enemies |
| Lancer Turret | Laser | Long-range energy turret that charges and fires a precise particle beam. Slow, but lethal | Elites at range |
What turrets cost
These are the costs the cards showed. The numbers are “have / need” on screen; below is the need.
| Action | Research Points | Material | Blueprint |
|---|---|---|---|
| Unlock a branch turret (Cluster, Mortar, Longbore, Scatter, Arclight, Lancer) | 7 | 500 | 1 |
| Unlock the Minigun Turret | 9 | 1,000 Titanium | 1 |
| Gunner level 1 → 2 | 2 | 100 Titanium | — |
| Laser level 1 → 2 | 2 | 100 Electrium | — |
| Rocket level 2 → 3 | 3 | 150 | — |
| Lancer level 1 → 2 | 3 | 200 Electrium | — |
Prices go up with each level and with the turret’s tier. Octopus Panic adjusted upgrade prices before the demo and may again during Early Access.
What do levels actually do? The game doesn’t say. Turret cards have no damage or fire-rate numbers, and that’s the top complaint in the Steam thread “PLEASE give us turret stats”. The community manager replied that the feedback went to the developers. Until then, treat levels as a straight power increase.
Radar and other deployables
- Radar: place it on the same pipeline as your turrets, between the Collector and them: Collector → Radar → Turrets. It affects every turret downstream on that pipeline. Players report it extends turret range ⚠️.
- One turret per node: you can’t stack two turrets on one pipeline node (Demo Patch 1).
- Courtesy Turret is a mod, not a building: it hands you a free random turret Build Kit, and upgrading it adds higher-tier turrets you’ve unlocked to the draw. See mods.
- Industrial Grade (mod) gives turrets thicker plating so they last longer.
Best turrets by job
| Job | Pick | Why |
|---|---|---|
| Early game | Gunner (upgrade the Base Turret first) | Cheap, durable, and Titanium is the most common material in the footage |
| Big swarms | Cluster or Mortar | Area damage. Mortar reaches farther, Cluster fires faster |
| Elites, Leapers, the Juggernaut | Lancer, Longbore, Arclight | High single-target damage |
| Holding a chokepoint | Scatter | Shotgun damage up close |
| Solo | Fewer, upgraded Gunners plus one Mortar | Less to repair while you mine alone |
This is our reading of the turret descriptions and how streamers built their bases, not measured damage. Rocket Turrets were nerfed before the demo (smaller blast radius, slower fire), so don’t lean on them alone.
Keep turrets alive
- Repair with the mining laser. The Field Mechanic mod repairs faster and Safety Protocols cuts the damage you take while repairing.
- Turrets fight on the pipeline network, so protect the line back to the Collector.
- The longer you stay, the bigger the waves. Bank resources and extract before the defenses fold.